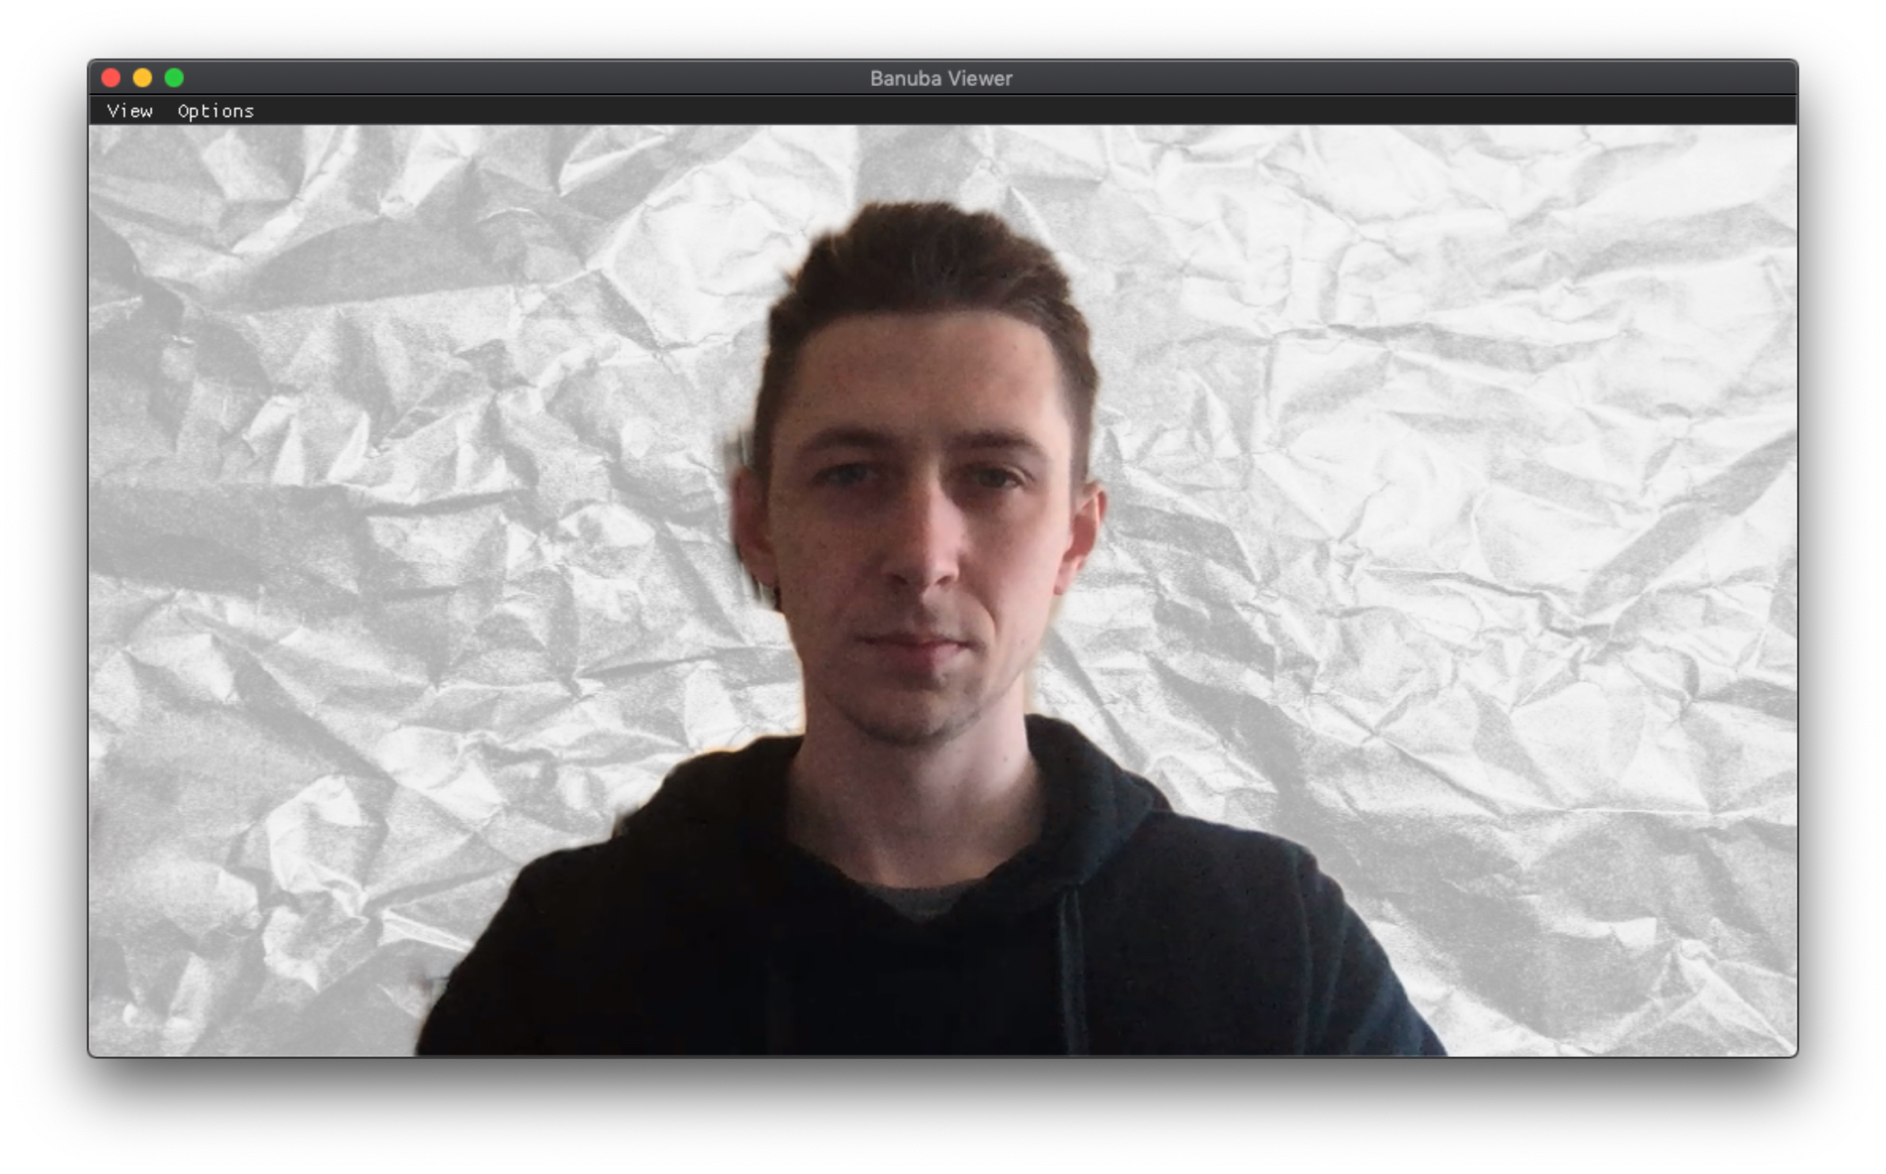
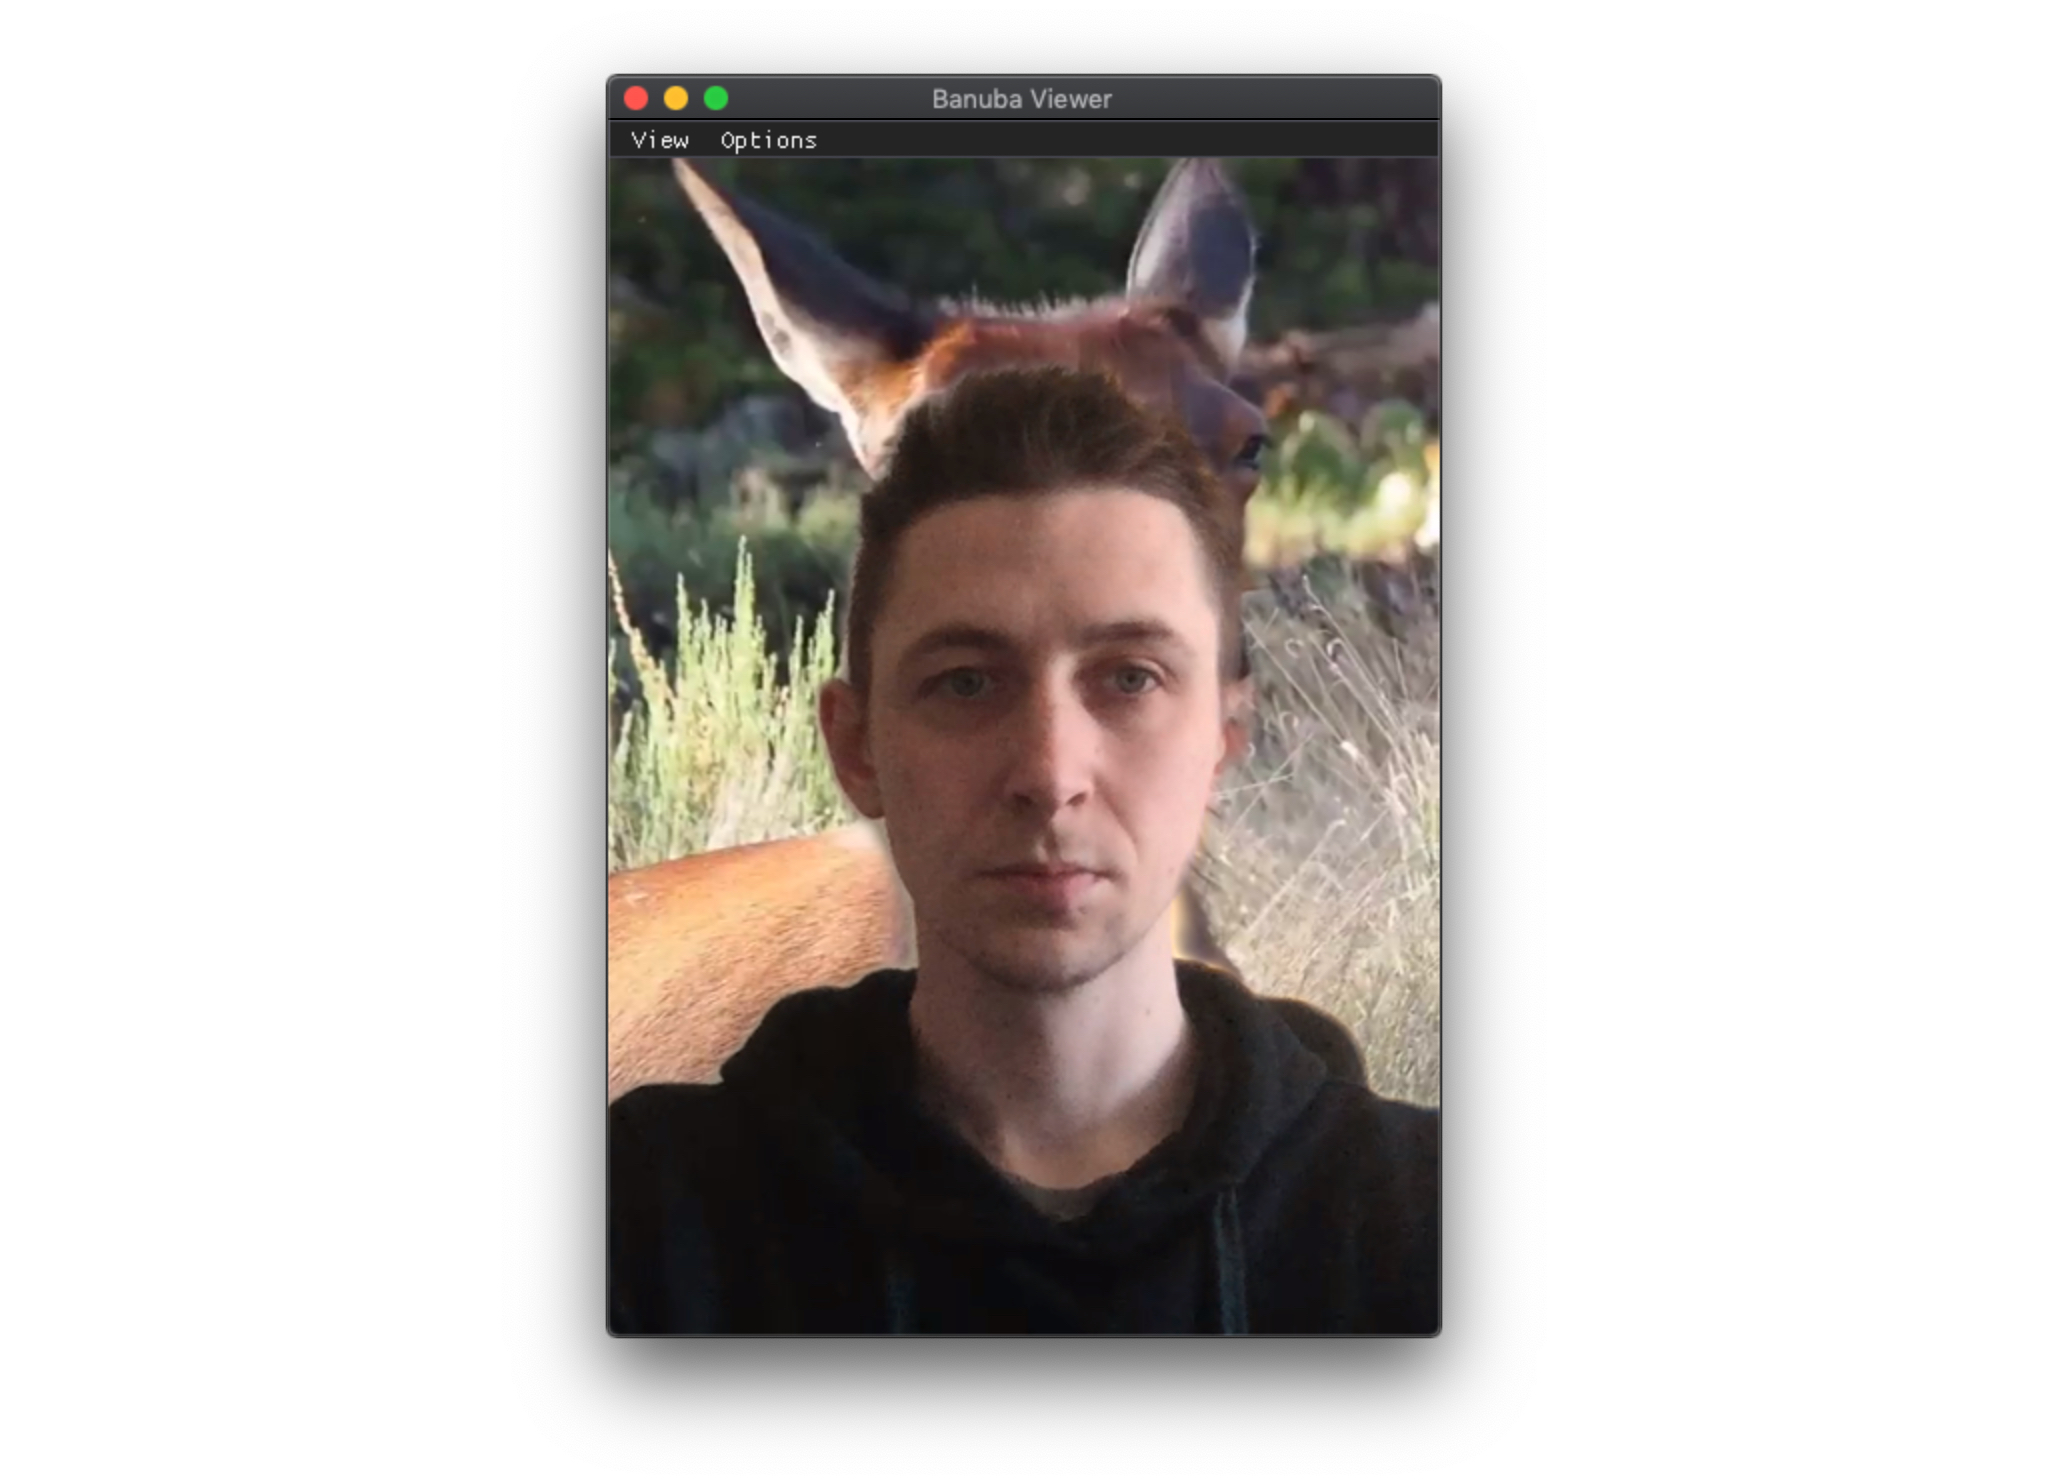
Static & Animated Background
This tutorial will guide you on how to create effects with background segmentation using various types of media files, such as:
- Video (.mp4) and GIFs(.gif) for animated backgrounds
- 2D textures (.png) for static backgrounds
The example of creating a 3D background, one that changes with the device rotation, using environment textures (.ktx) may be found here.
Effect examples: test_BG_Texture and test_BG_Video.
Steps to implement#
Preparation stage#
- Create a folder for your effect and name it the way you name the effect (bg_segmentation).
- Open Filter Editor, Press ‘Open’ button in the upper left corner and select ‘bg_segmentation’ folder created in the step 1.
- Press ‘Construct’ button in the upper right corner to create the effect. We’ll add our background files later. Now, no notifications will appear.
- Check your folder. You'll see a new folder created inside the effect folder with the same name. Files such as “config.js”, “cfg.toml”, “config.json” and “preview.png” are added to the new folder.
Setting up background segmentation (manually)#
- Along with generated files put your sample media file into the newly generated effect folder.
For 2D texture background segmentation:
- bg.vert
- bg_tex.frag
- paper.png (or any texture(s) you want)
- tri.bsm2
For Video background segmentation:
- bg.vert
- bg_video.frag
- Video.mp4 (or any video or GIF file you want)
- tri.bsm2
Sample files can be found in downloaded effect’s example archive.
- Edit cfg.toml:
For 2D texture background segmentation:
- Write the material section:
- Add TriMat material from tri.bsm2 model to the draw order:
draw_order = [“TriMat”]
- Write the material section:
For Video background segmentation:
- Write the material section:
- Add TriMat material from tri.bsm2 model to the draw order:
draw_order = [“TriMat”]
- Write the material section:
More about cfg.toml here.
- For background segmentation edit config.json:
For 2D texture background segmentation:
- Enable the features. Add to general section:
- Enable the features. Add to general section:
For Video background segmentation:
- Add media option to the frx section:
- Enable the features. Add to general section:
- Add media option to the frx section:
More about config.json here.
- Add the following code to Effect’s init method
For 2D texture background segmentation:
- Add tri.bsm2 mesh spawn:
Api.meshfxMsg("spawn", 0, 0, "tri.bsm2"); - Set BG texture:
Api.meshfxMsg("tex", 0, 0, "paper.png");
note
You can change BG Texture in runtime in a few ways:
- By calling
Api.meshfxMsg("tex"…)with new texture name in the effect config.js; - By calling
callJSMethodfrom your app code. Also you should update config.js file of the effect by adding method to set path to the new texture (e.g. setBackgroundTexture, absolute paths supported):
Bonus
You may color your texture by sending additional color data to the shader by calling:
Where "1.0 0.0 0.0 0.0" - RGBA data.
For Video background segmentation:
- Add tri.bsm2 mesh spawn:
Api.meshfxMsg("spawn", 0, 0, "tri.bsm2"); - Add playVideo function call:
Api.playVideo("frx", true, 1);
- Add tri.bsm2 mesh spawn:
Read more about config.js.
The effect construction is completed. You can preview your effect in the Banuba Viewer application. To preview the effect, drag'n'drop it to the Previewer window.